Bass Shaker Rattling? How SimMount Replacement Parts Fix Common OEM Issues
A rattling bass shaker can have several causes. One possible cause is a damaged plastic support around the magnetic core. Inspect the unit and confirm the cause before choosing a replacement part.
SimMount replacement parts
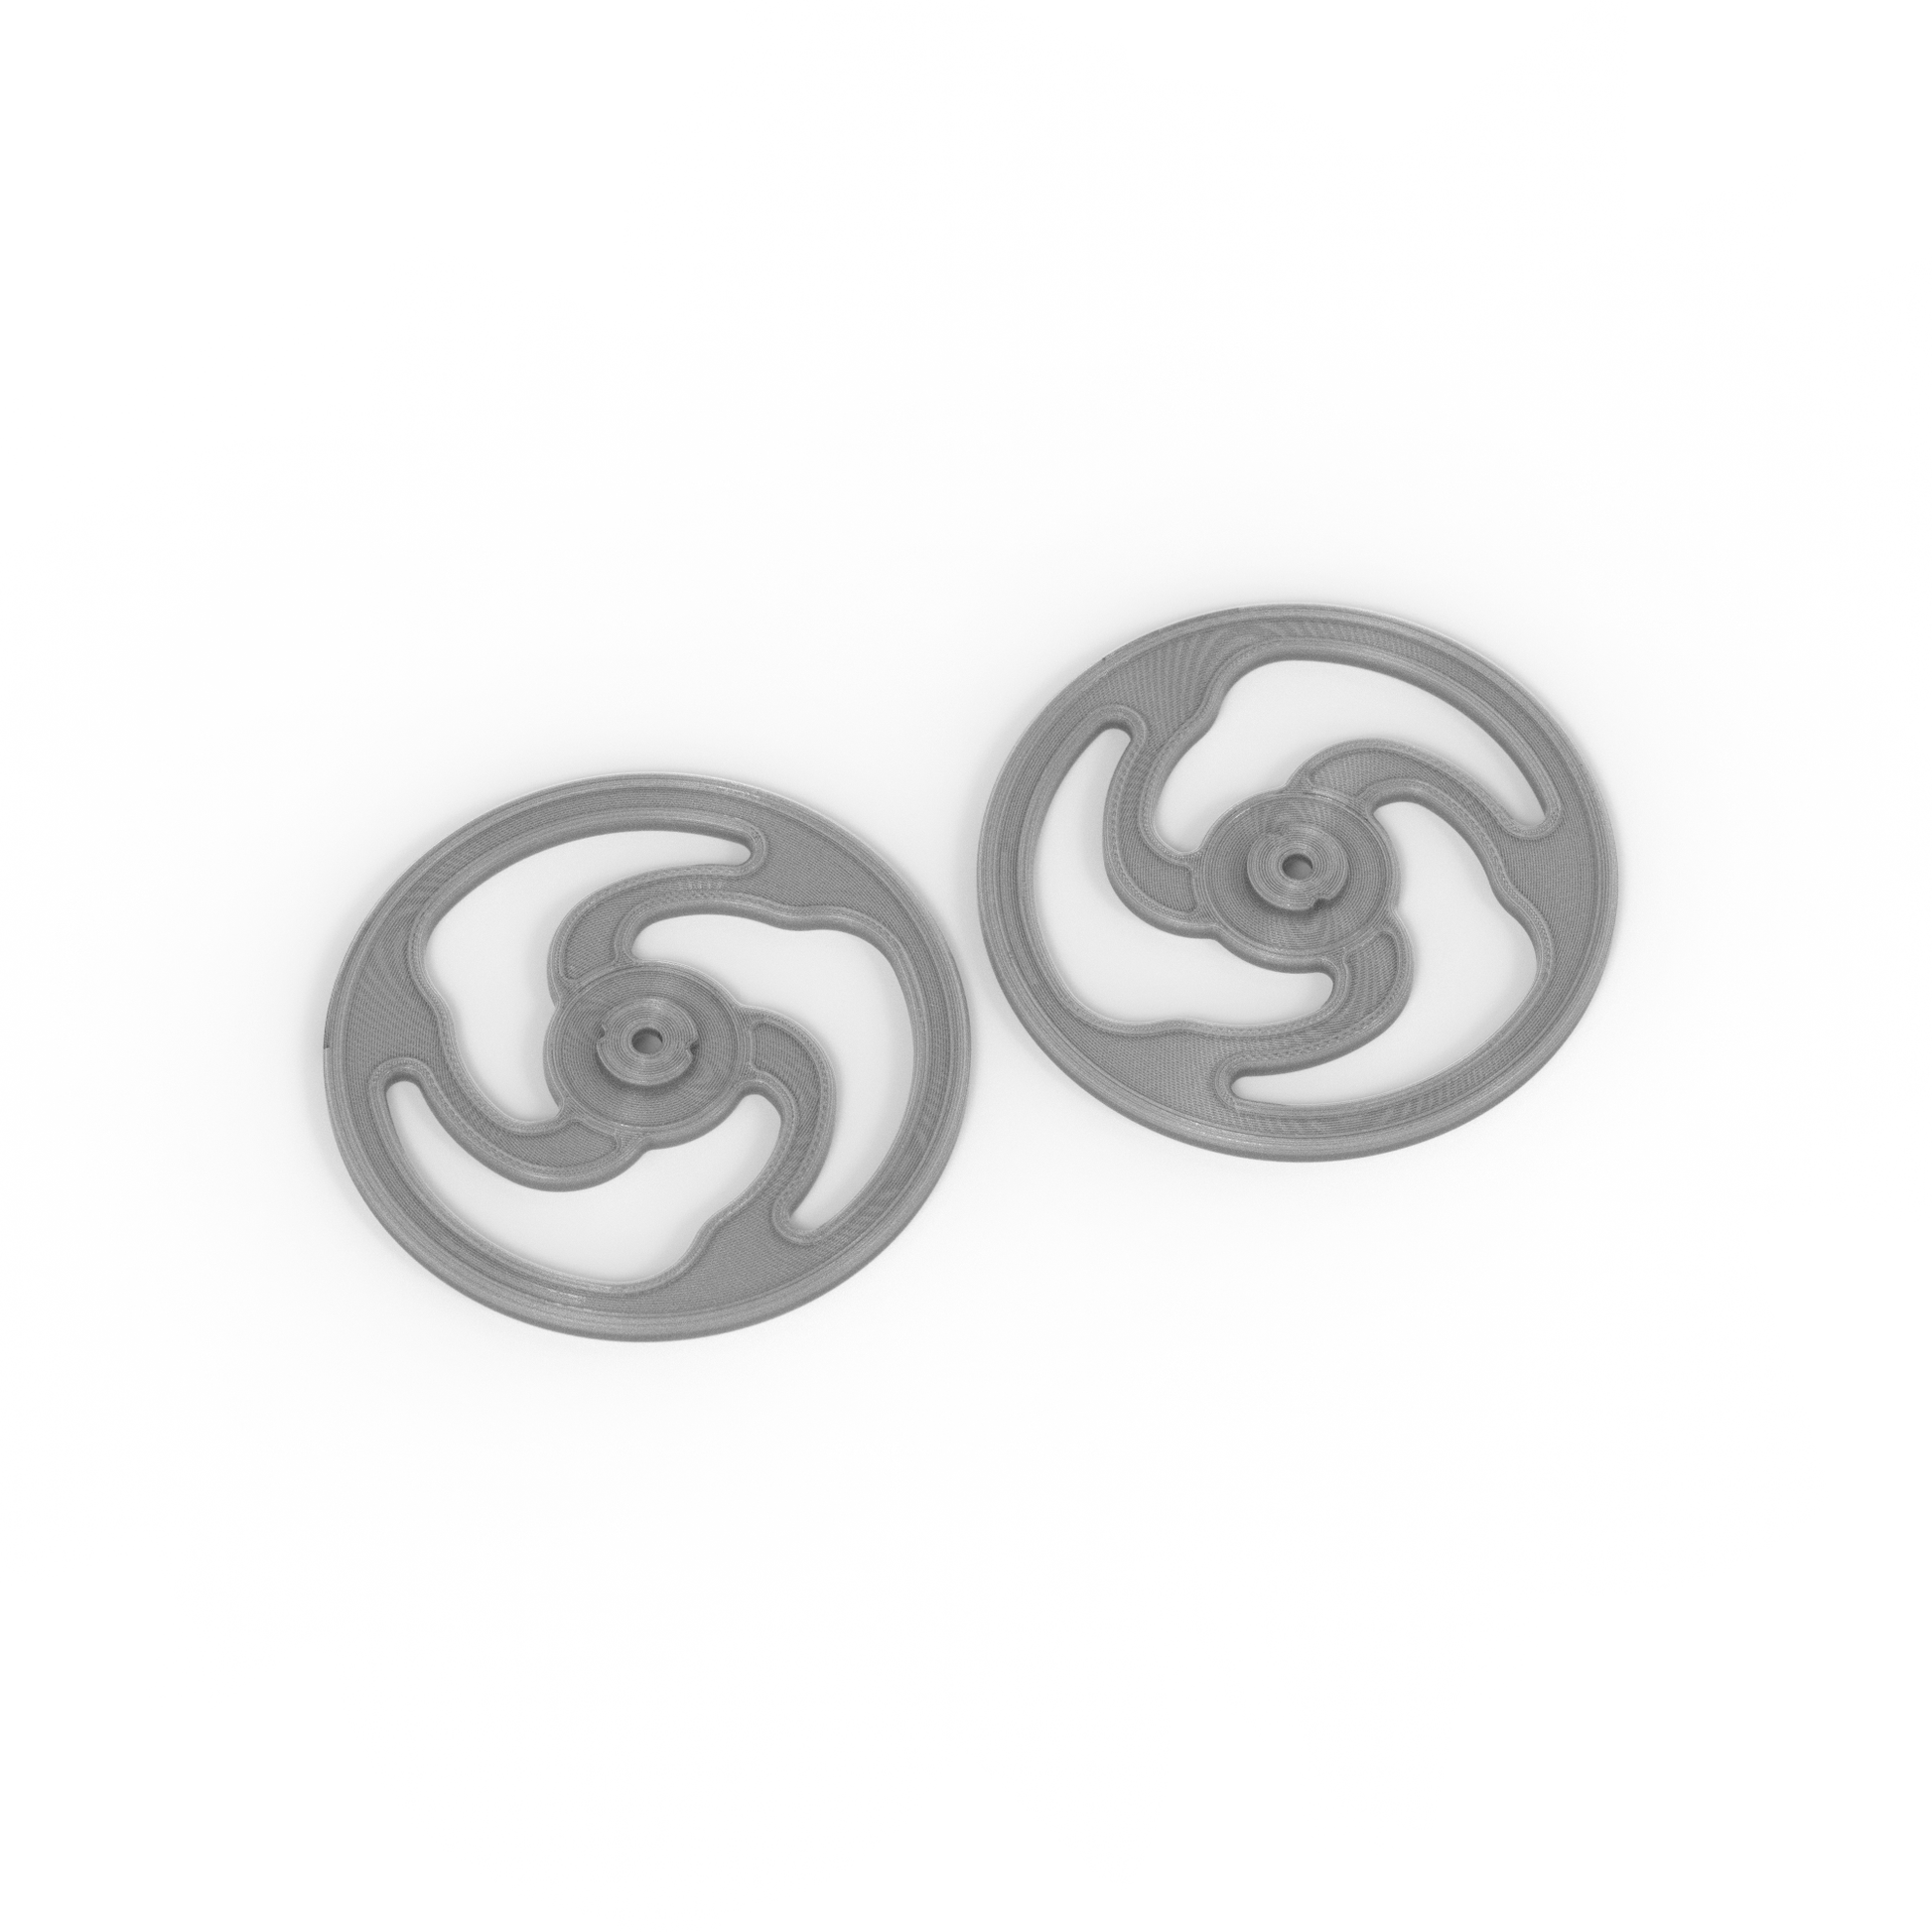
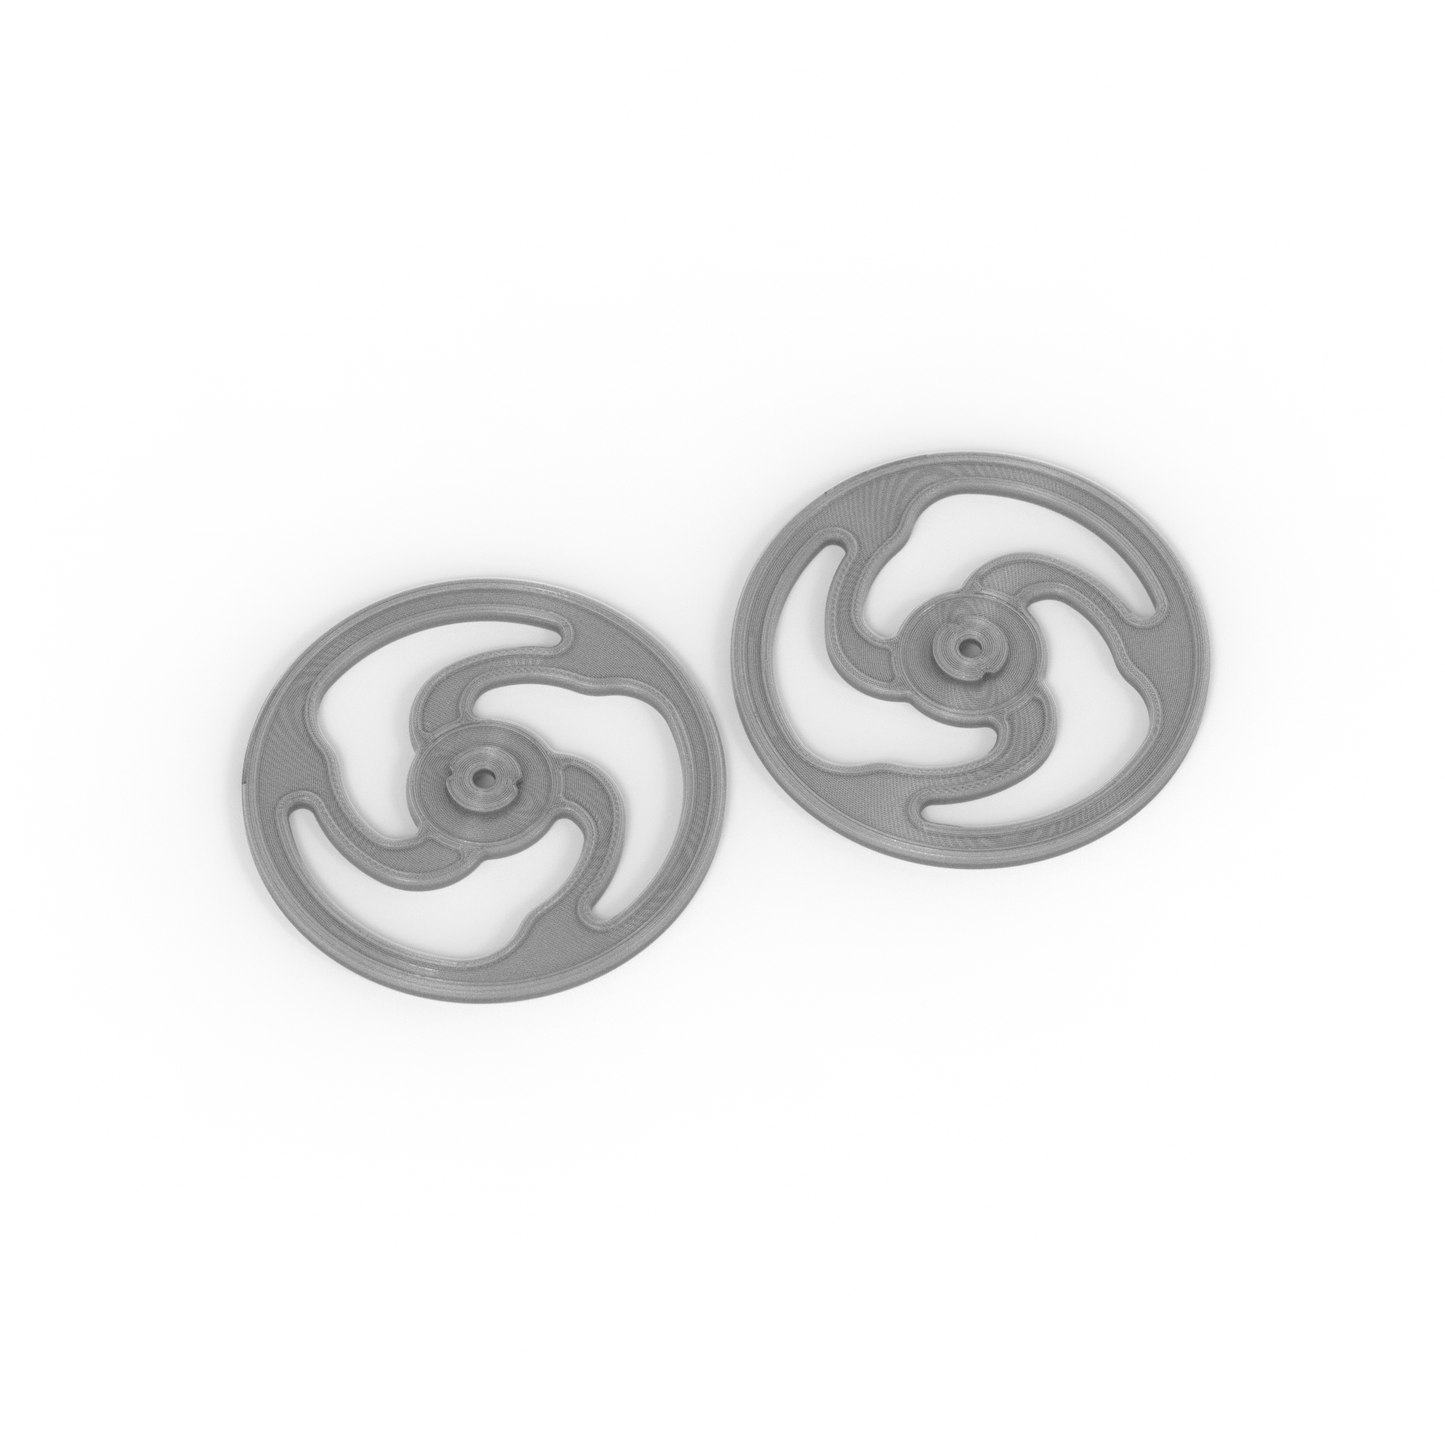
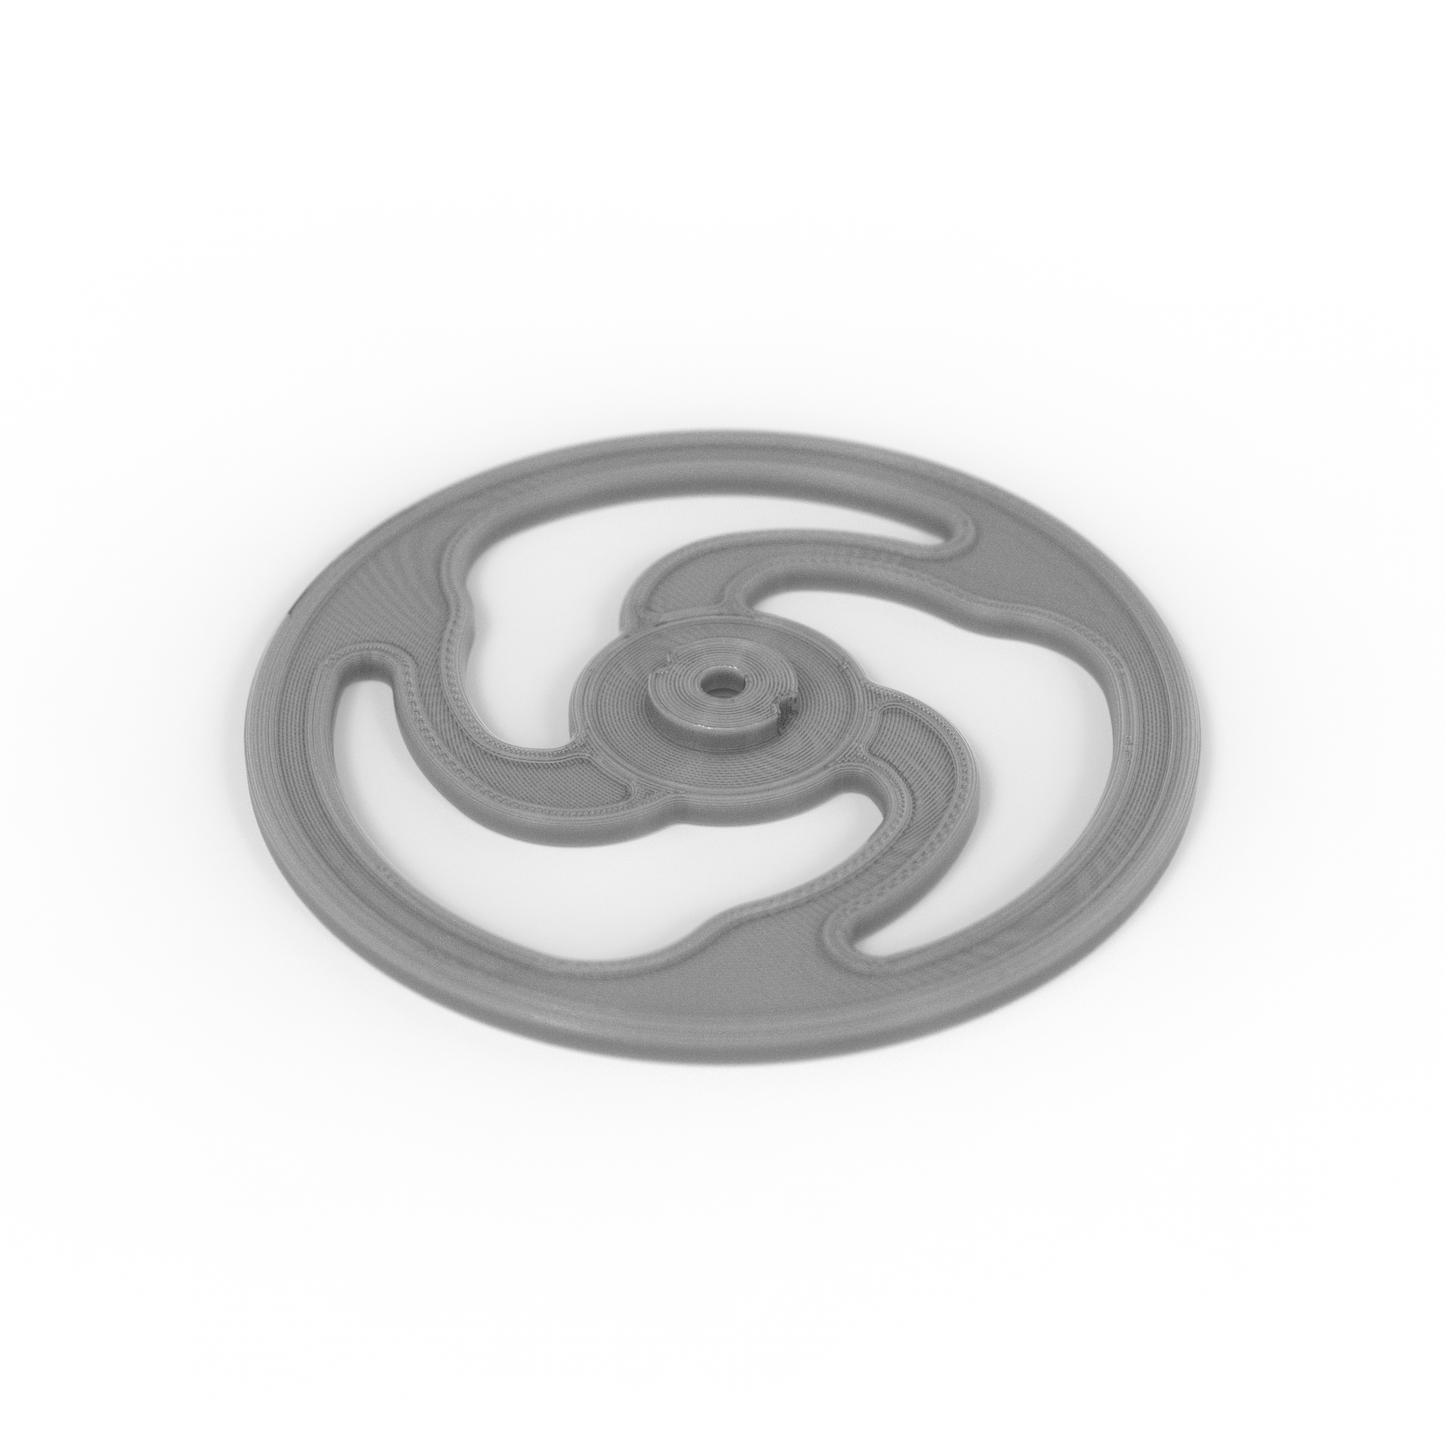
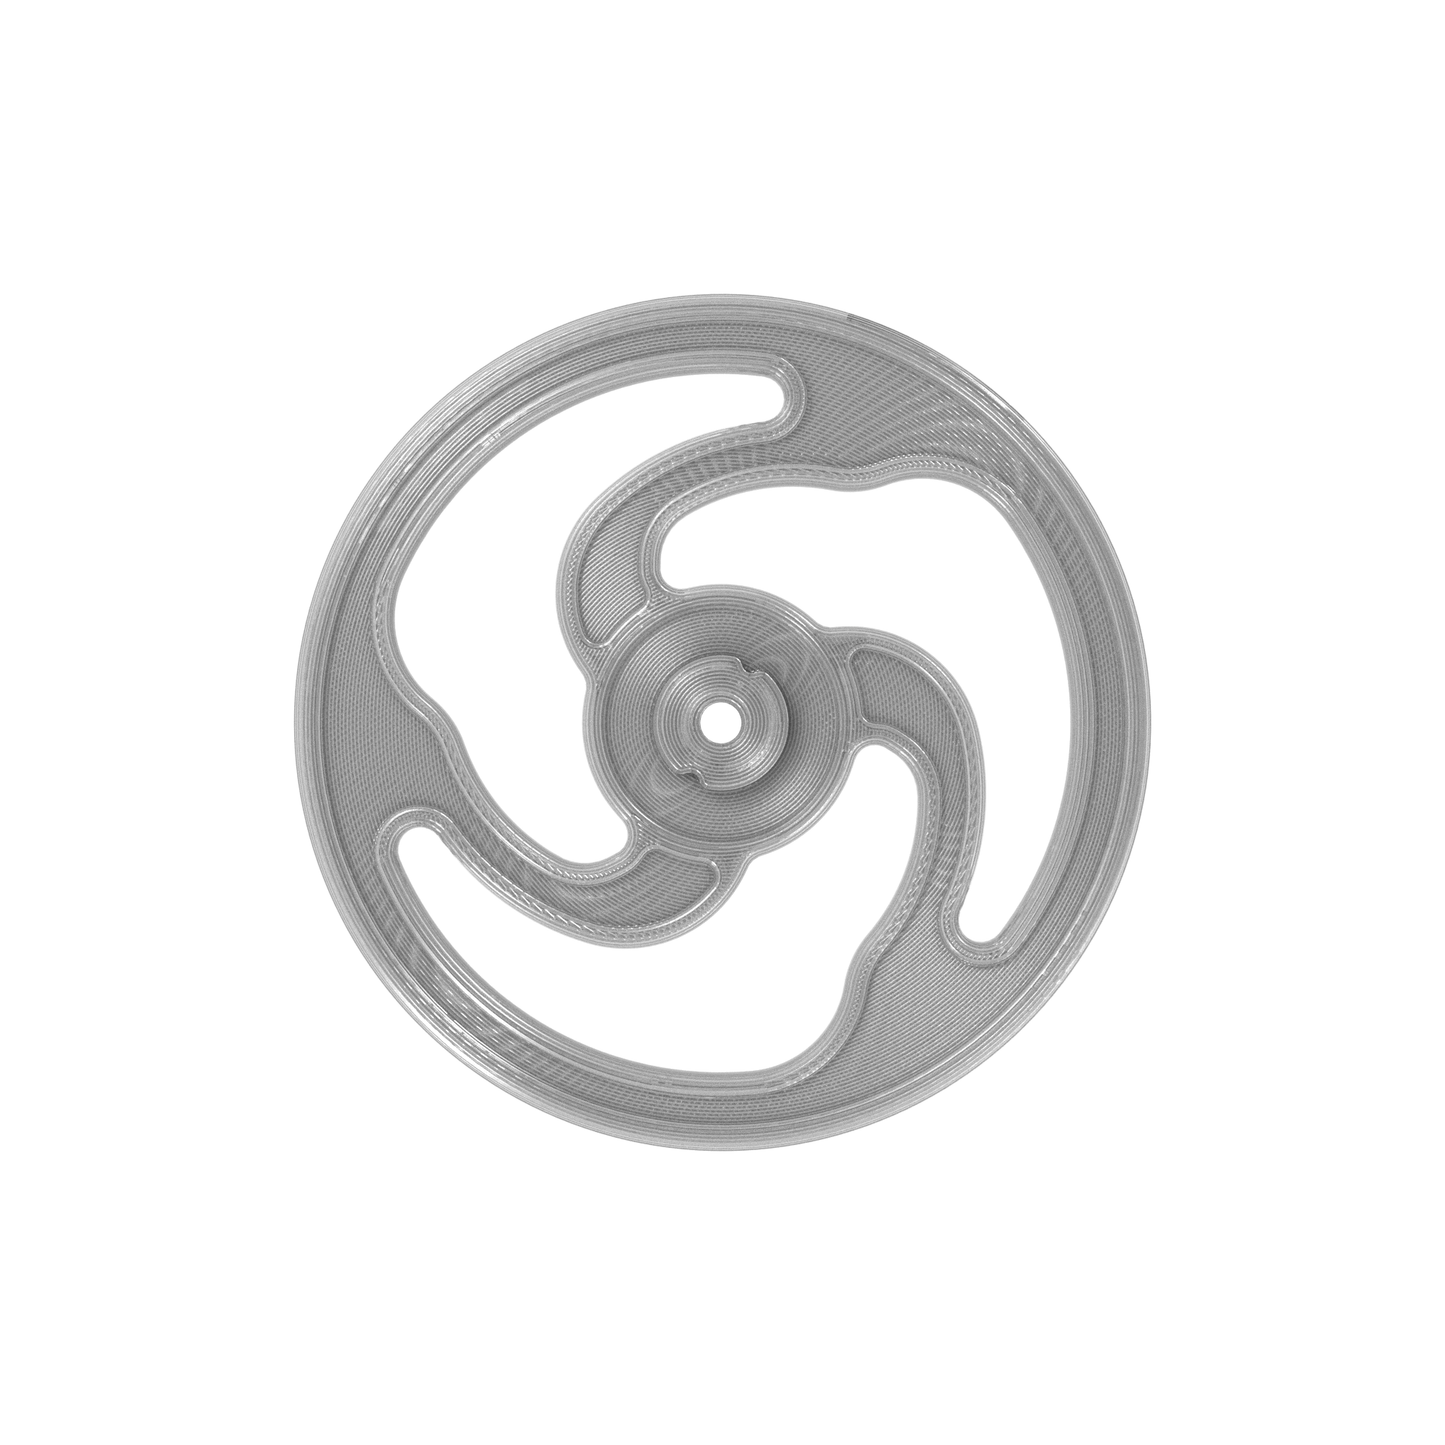
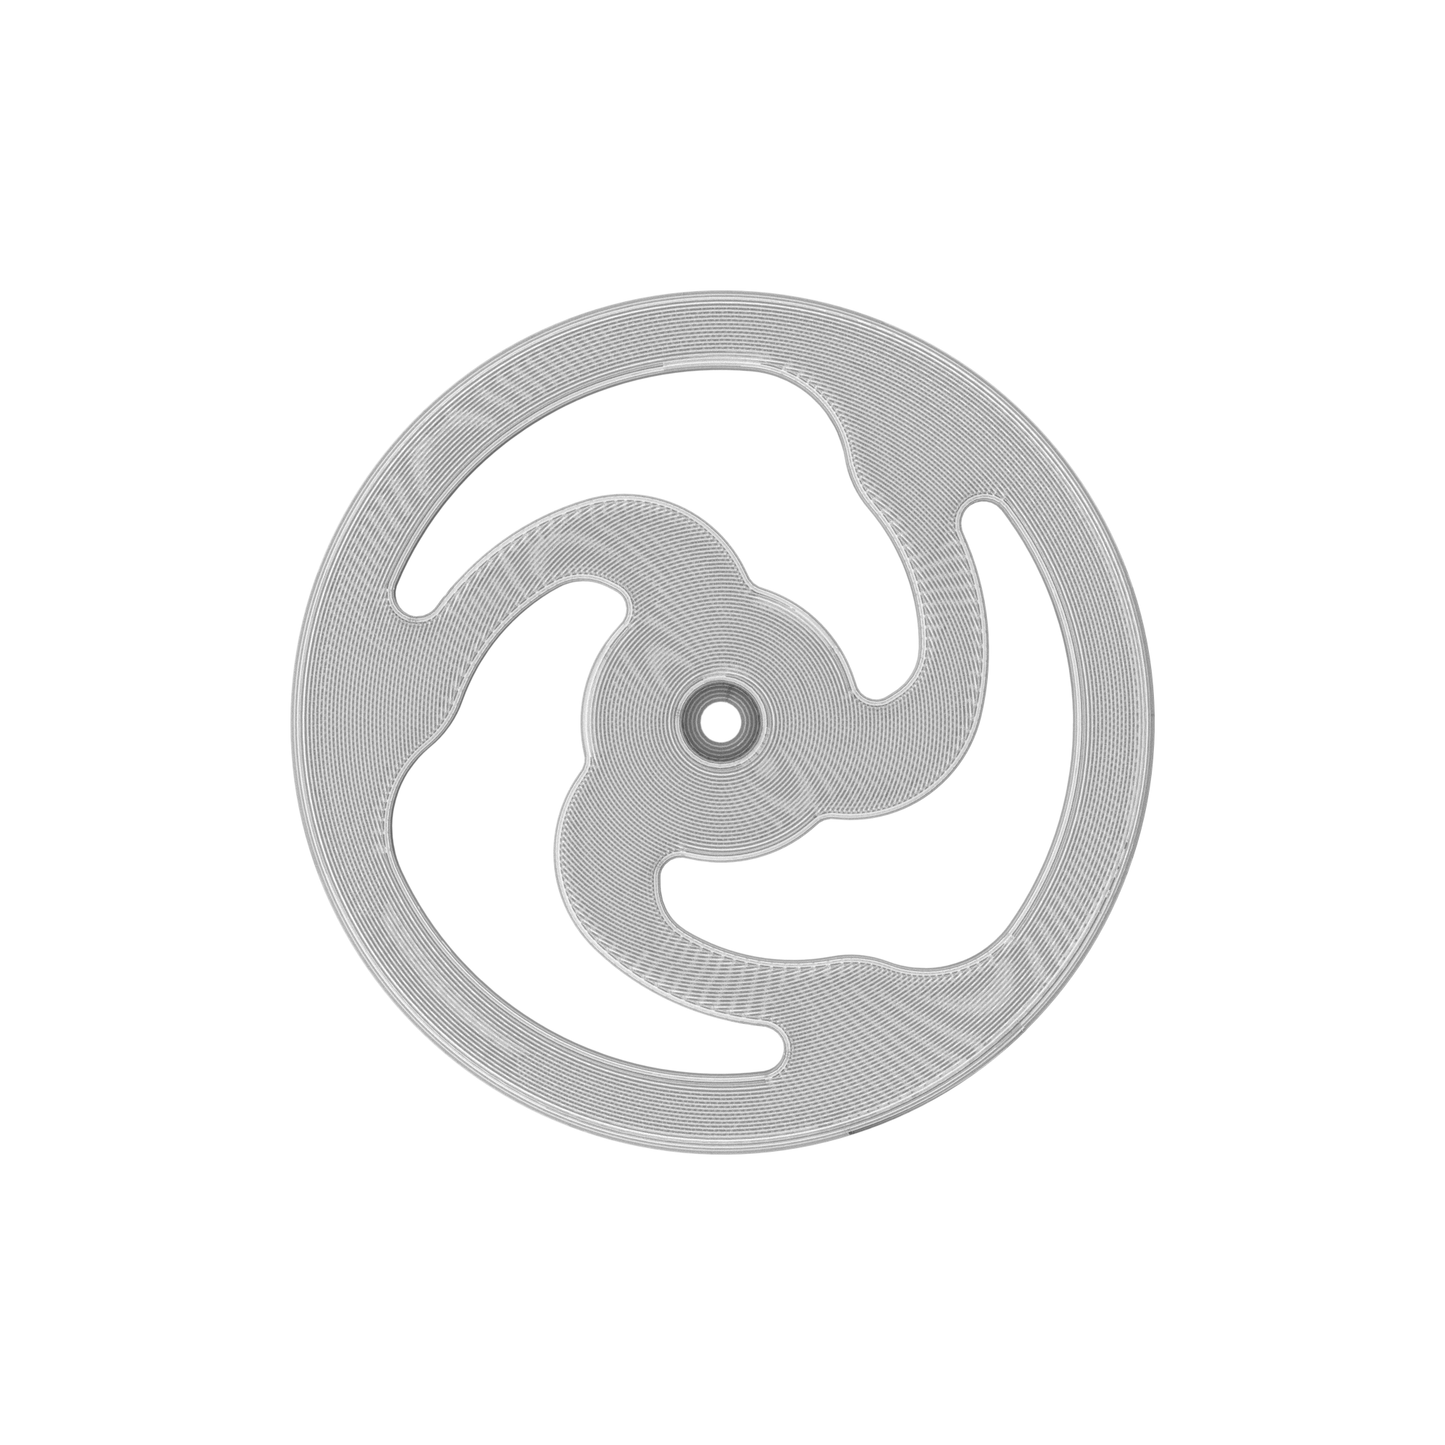
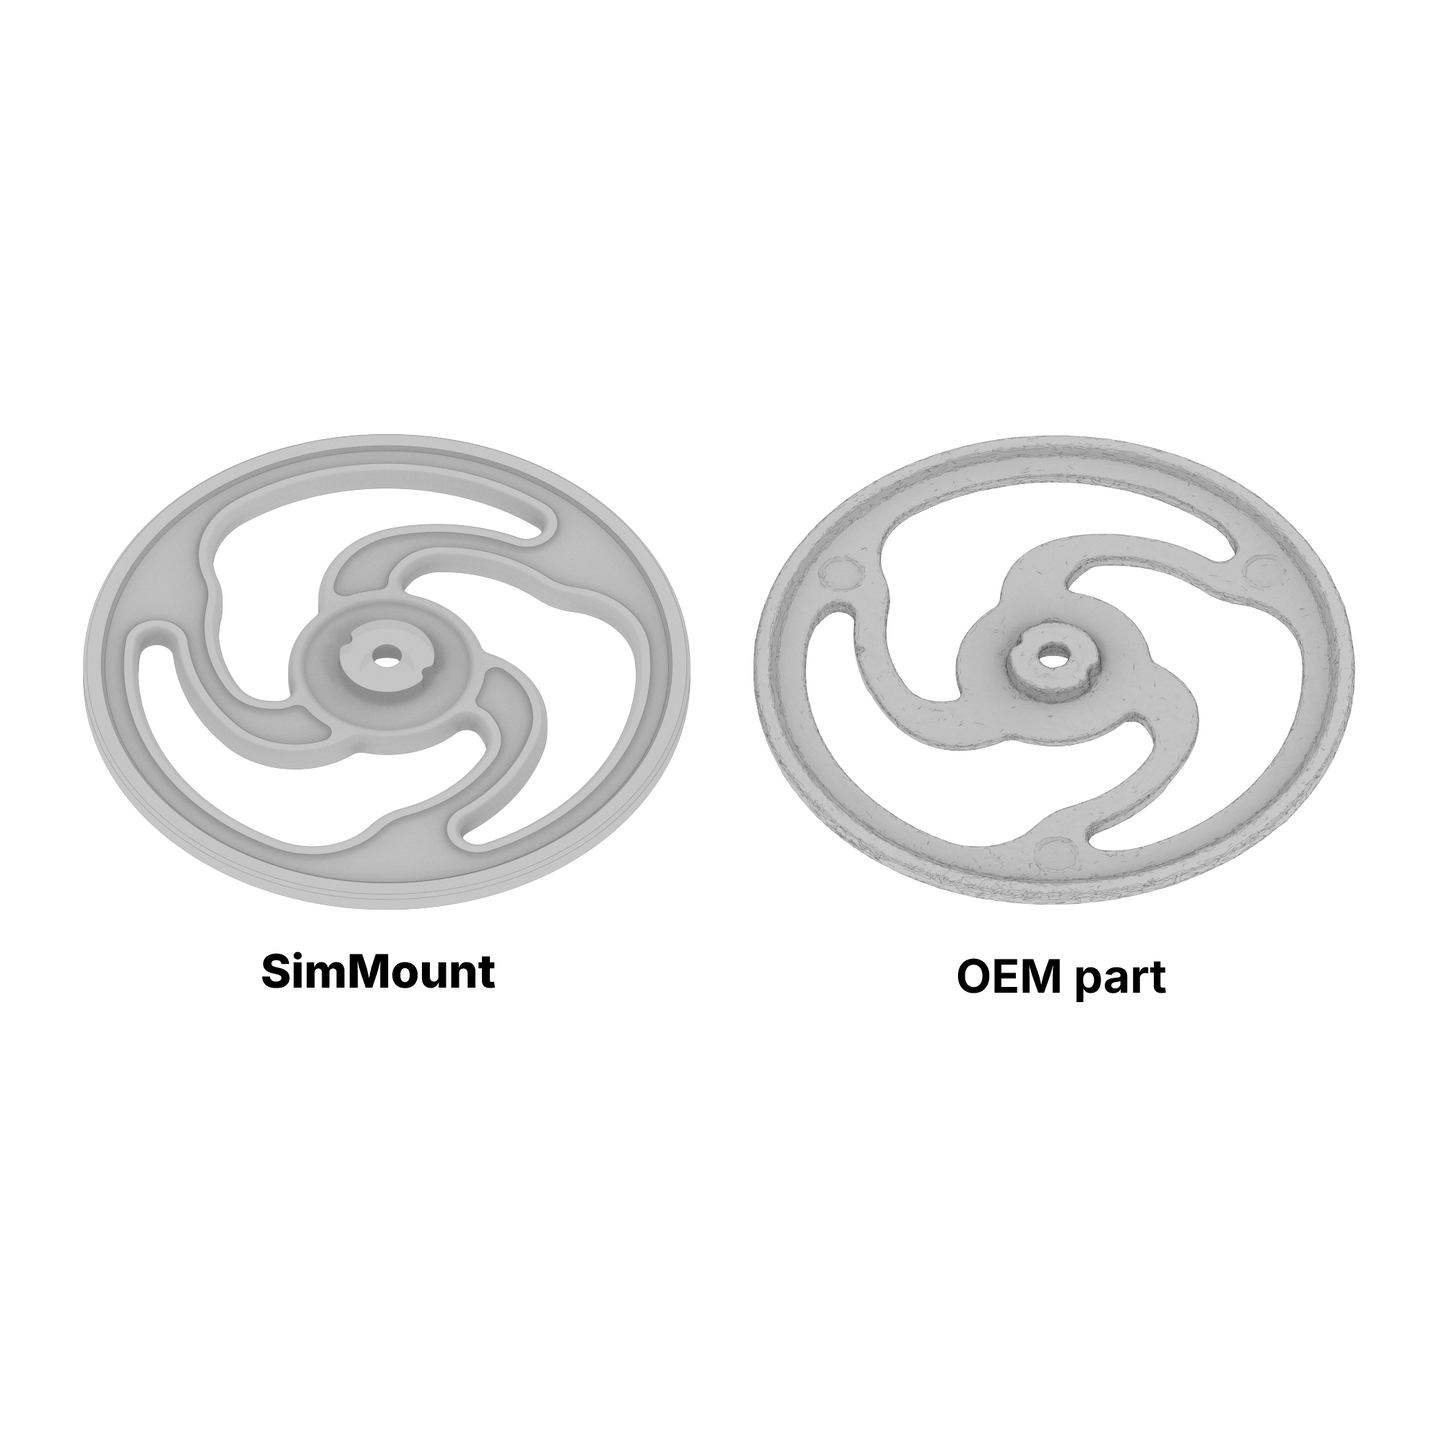
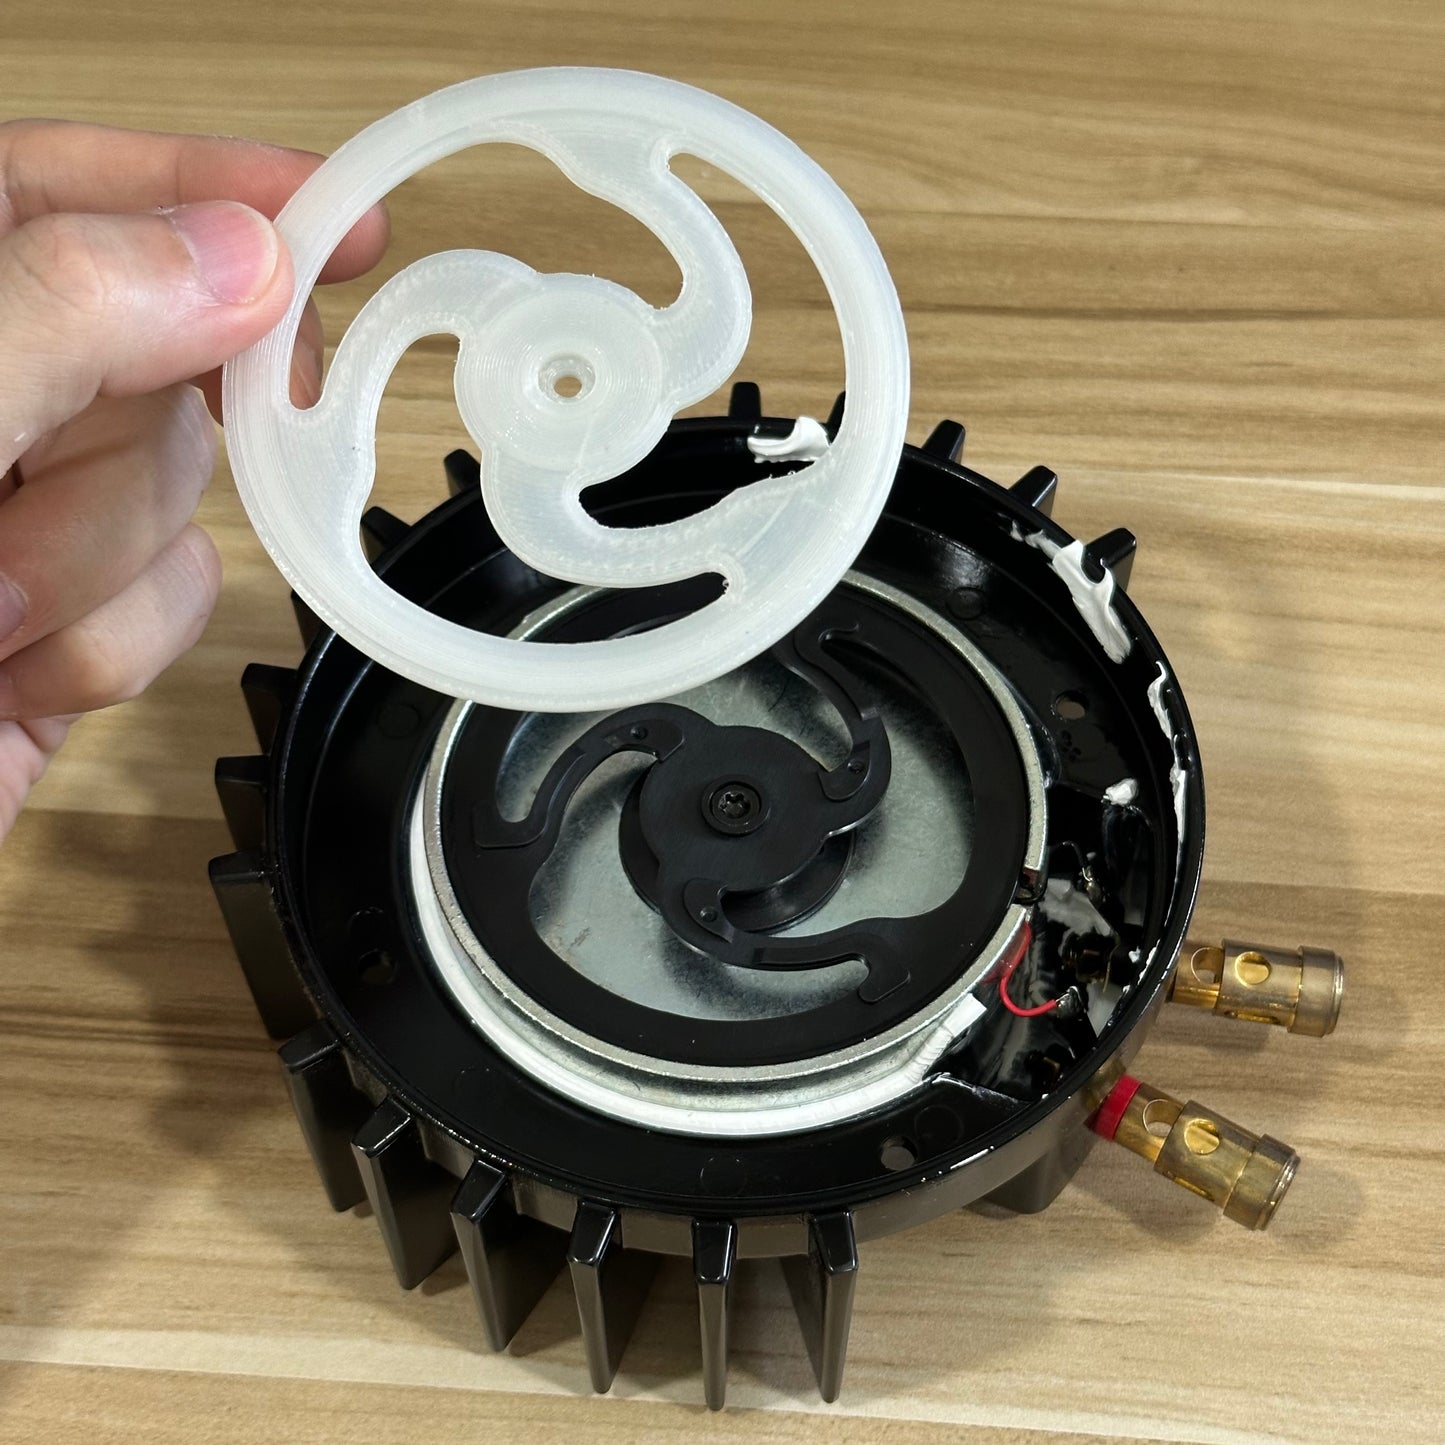
The SimMount Premium Nylon Vibration Disc Replacement Kit is made from nylon and is intended to replace the original plastic supports in compatible bass shakers. Check your model and the condition of your unit before ordering. The result depends on the cause of the noise, the condition of the other parts and installation.
Step-by-Step Installation Guide
Upgrading your bass shaker with SimMount’s replacement parts is a straightforward process if you follow these detailed steps. Please note that the installation requires a bit of technical skill—specifically, soldering—to disconnect and reconnect the necessary wires. Before starting, gather the following tools:
Tools Required
- Torx Screwdriver with Bit Size 20
- Soldering Iron
- Napkins/Wiping Towel
- Rubber Gloves

Disassembly & Replacement Steps
Remove the Exterior Screws: Locate the four Torx screws marked in the red circle on your bass shaker. Remove these screws to expose the inner workings of the unit.


Access the Plastic Ring: Remove the center Torx screw that secures the plastic ring. This screw holds the original plastic support piece in place.


Detach the Original Plastic Piece: Use a small plier or even your finger to lift and pull the center plastic piece away from the magnetic core. Be cautious to avoid further damage.

Disconnect the Wiring: Depending on your bass shaker model, you’ll need to either disconnect or desolder the wires attached to the magnetic core. Exercise care during this step.


Remove the Center Core: Once the wires are disconnected, carefully lift the center core out of the bass shaker’s housing. A firm pull might be necessary, but be mindful—using too much force can break the plastic ring on the backside, but we're replacing this anyway.


Clean the Housing: With a napkin or towel, thoroughly wipe away any silicone residue from inside the housing to ensure a clean installation surface.


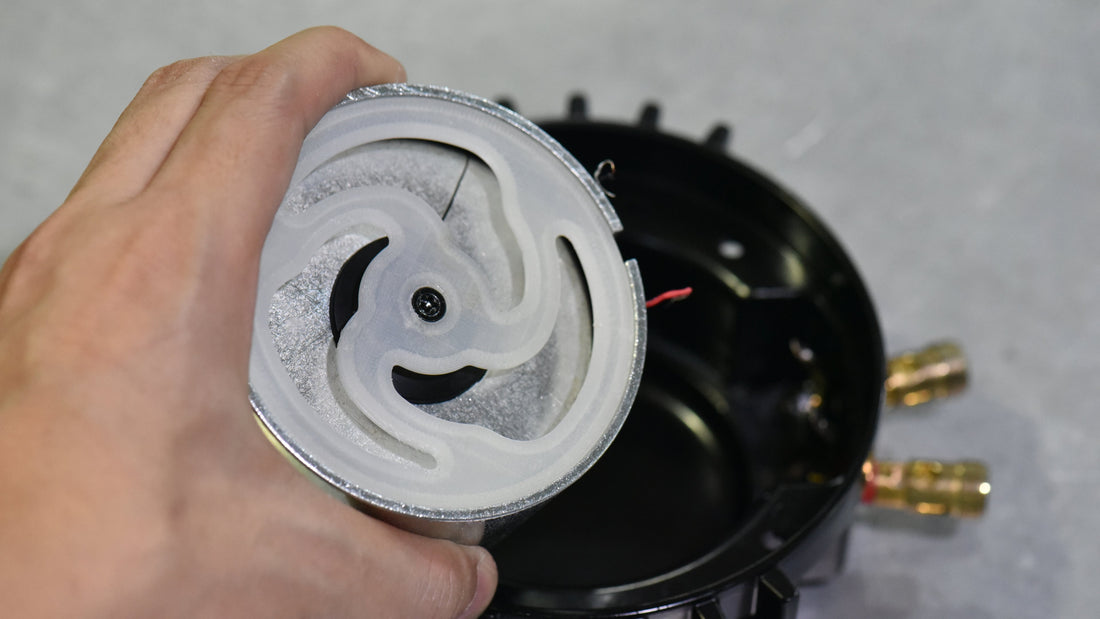
Install the SimMount Replacement Parts: Fit the SimMount Nylon replacement pieces onto the magnetic core. Pay special attention to the small notches on the center core; aligning these with the replacement pieces is crucial to prevent the core from rotating during operation.

Reassemble the Bass Shaker: Once the replacement pieces are in place, reinstall the center core back into the housing. If desired, you may choose to reapply silicone to the core for additional stability. Solder the wires back in place and close up the housing. The Torx screws, when fastened, will compress and secure the magnetic core, ensuring everything is tight and in place.

Congratulations!
After reassembly, check that the unit operates as expected. If the noise remains, another part or installation issue may need attention. Contact our support team if you need help identifying the problem.
Have questions or need further assistance? Contact our support team—we’re here to help you get the best performance out of your sim setup!